
How to create a filter on Instagram?!
That Instagram is long past social media we have spoken in previous posts.. Today, story is the hottest place, where most users spend their time in the app. But even the story that in the past was a kind of behind-the-scenes glimpse was upgraded and became over time a decorated filter. The filters in the story are totally the hot thing and are way beyond the game of changing hair color or giving volume to the lips… A good filter can increase exposure to your page wonders. It’s a platform that spreads rapidly and its exposure is maintained and only grows over time – big and small business owners is a perfect tool for you. Another way to use this feature is to create a unique filter for your event, it’s an original and cool way to distinguish all the sators your guests will upload from your event. Besides.. Sure you always wanted to do the perfect filter for you, but it seemed like an impossible task. In short, this post is for you and especially for all those who have already tried to do it once but got into trouble with online guides and have not found the guide that really helped them.
And if you are already in business birthday matters (if you have not yet read the previous blog post, “Birthday Celebrations in Quarantine” want to read now), then here you go – we will learn to prepare a step-by-step birthday filter!
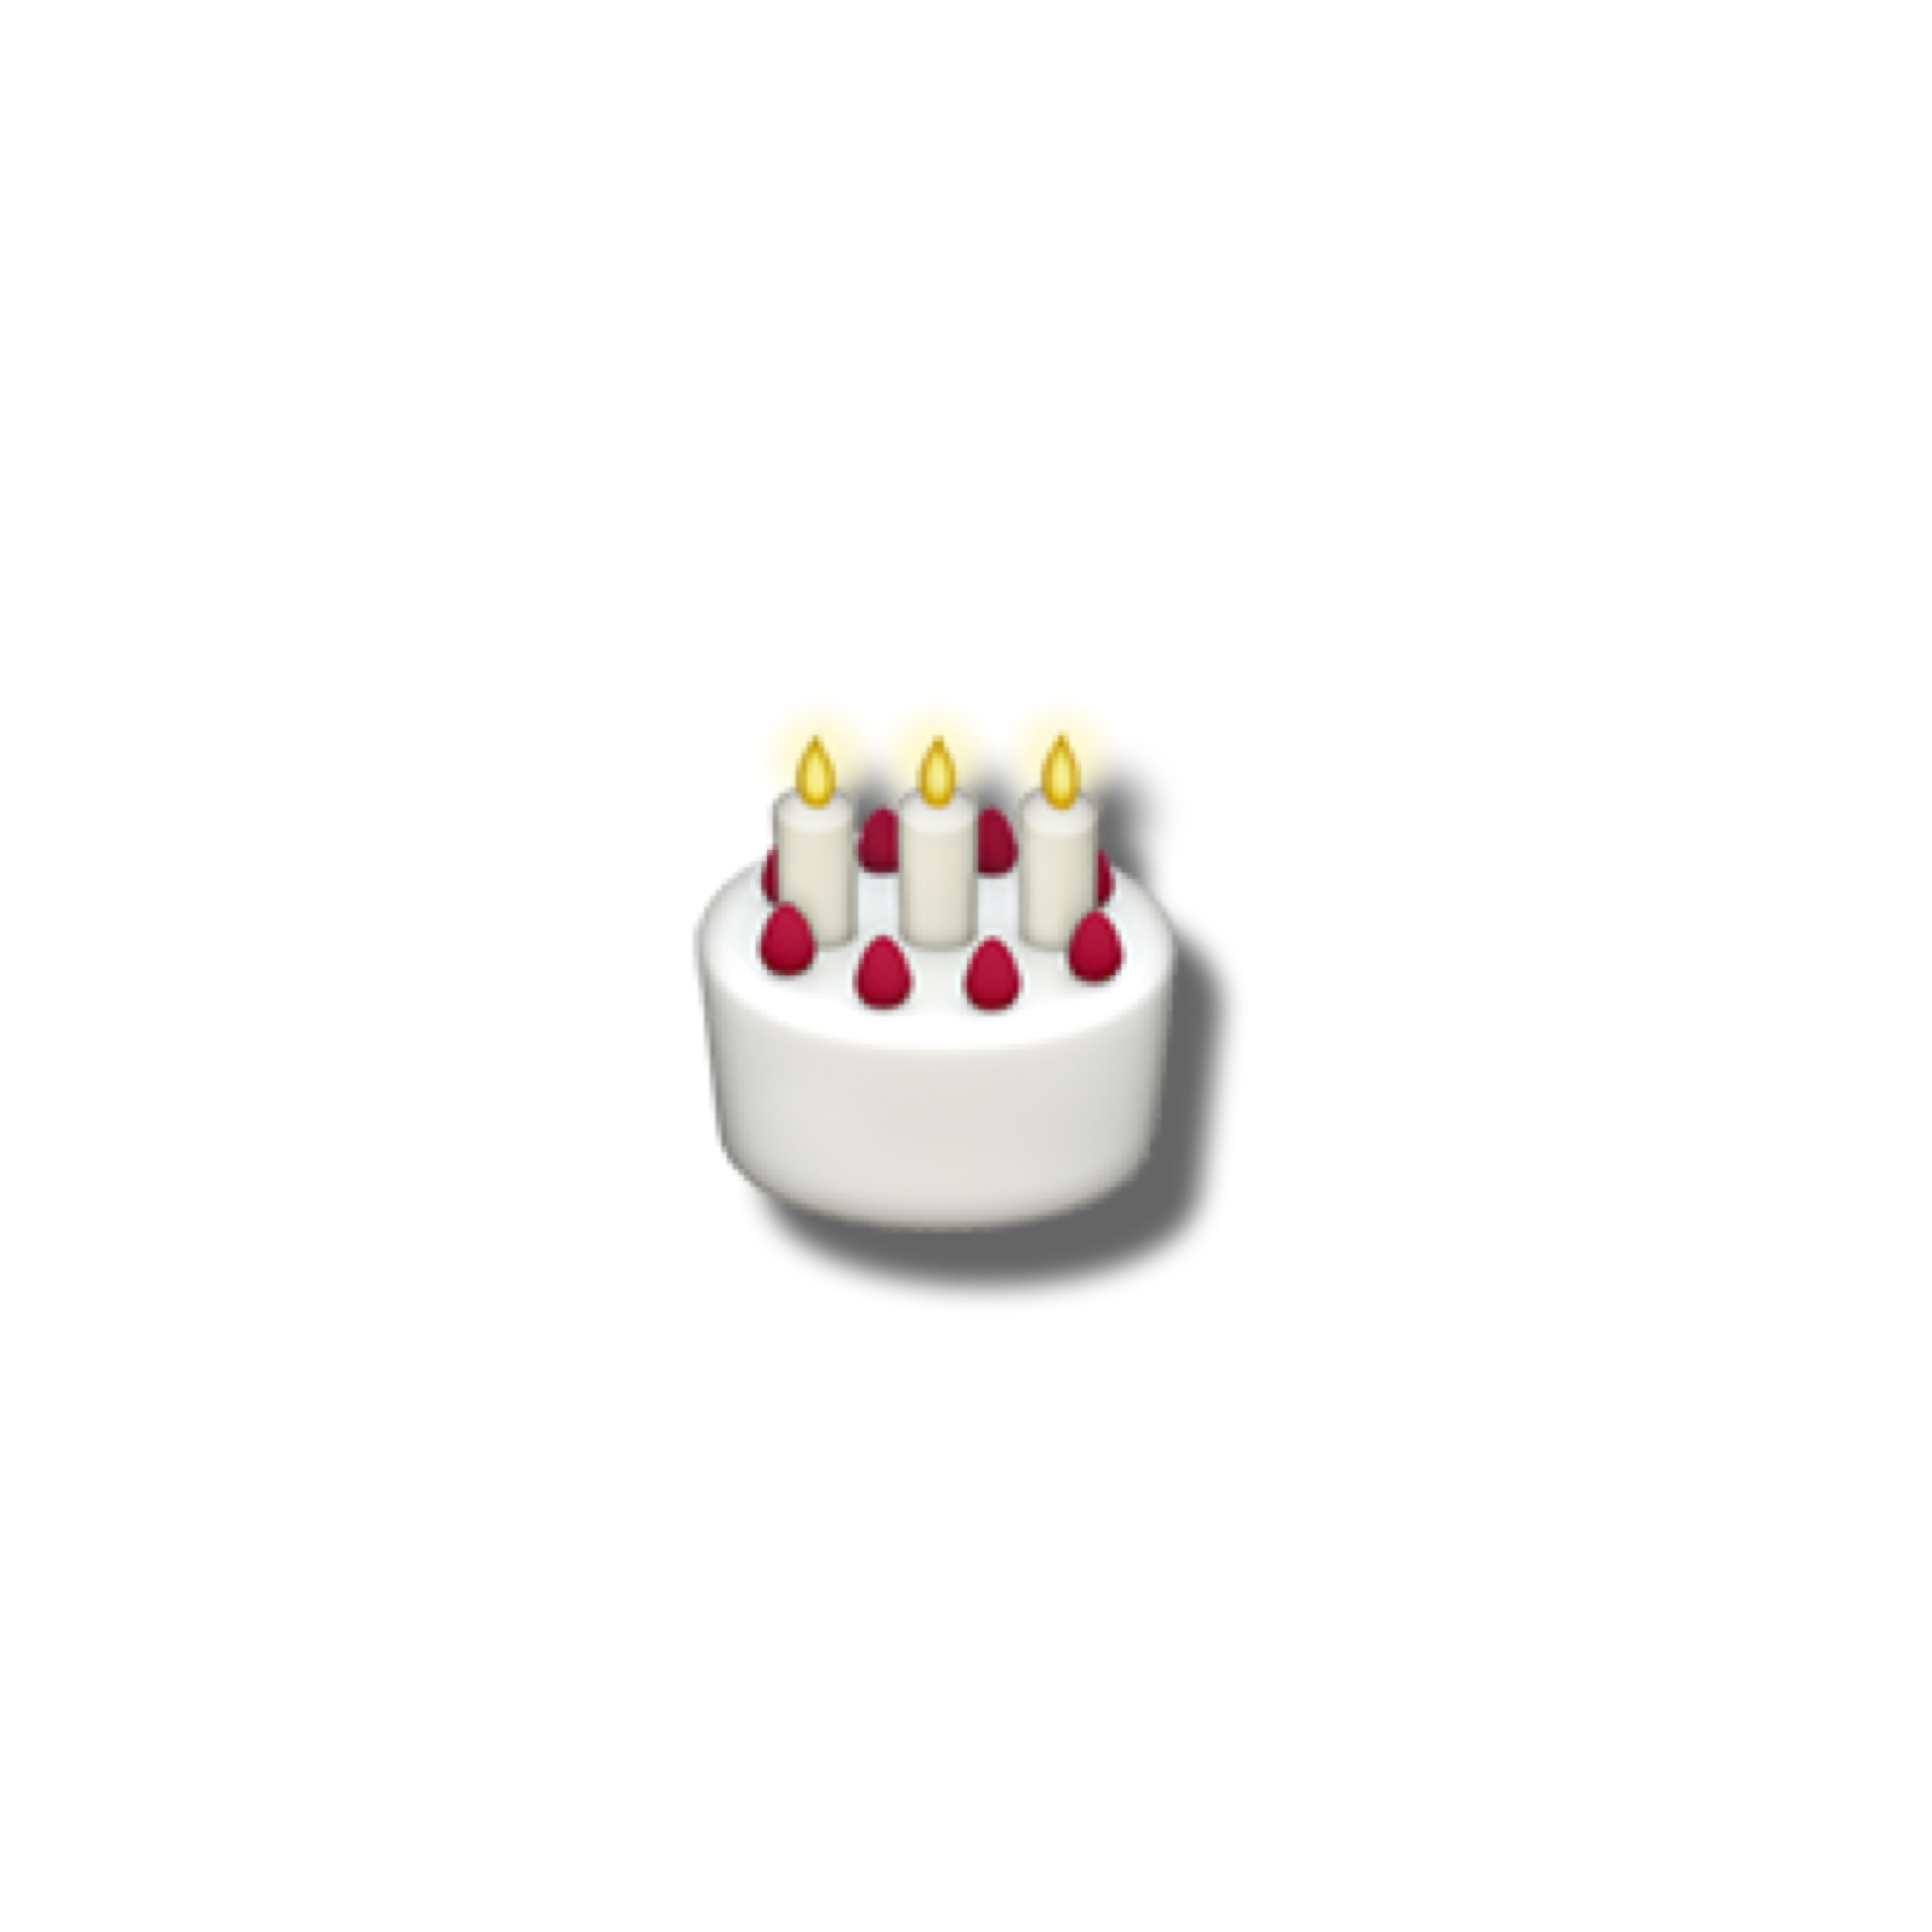
The filter built today looks like this:
The dedicated filter creation software is called Spark AR and is completely free.
Attaches a link to the download site – link

After we download and installed the software on the computer, we will open it and immediately open this screen for us:

The software lets us work on ready-made templates, in an example that I will show you we will build a filter completely from scratch and therefore we will choose “Blank Project”. As soon as we click, the following screen opens:

It can seem very intimidatory and incomprehensible to those who do not have or have experience with such software, but with the explanation I will give you here we will go together step by step until the filter is created. You will not, of course, learn all the options that the software can provide you (hint: a lot) but with this explanation you can develop your filter for a wide variety of styles.

Now you could say we got to work. We will press the Add Object button as described in the picture, now we will have a window that gives us quite a lot of options, we will write in the search bar “Particle System” and confirm.
Once we’ve done that, we’ll be joined by black and white squares moving in the mid
dle of the screen, we’ll immediately learn how to play with them and even turn them into images we’ll choose from.
Now on the right, we have extensive options, before we start touching th
em, pressing the “Material” button.

Next we click “Add Asset” which is down on the left, from where some options will open up and we will choose “Import from computer”, and now all that remains is to choose the image/object that we want to fall from the sky. In our case for starters, I chose the party hat emoji.

Important! The image you choose must be from PNG format so that there is no background around it (the image of the hat I use is attached as a file at the end of the post)
As soon as we select the desired image and confirm, we will click “Material” again (step 3 pictured above) and go to the menu on the right as described in the picture on the left
.In the option “Shader Type” we will choose “Flat”, and now comes the good part, under the second red square marked in the picture, when we choose it will open we will have the option to choose the picture we added, we will choose the hat and already we will be able to see that the black and white squares will change to our hat!
Now comes the part where we start playi
ng with the settings and for his hats to f
all randomly from the sky and not rise from the center of the screen. In this menu we will change the settings according to the image I will attach below here:

Now step to advanced – say we want to add more objects that will come down from the top of the screen, in our case it will be a cake, and maybe also a bottle of wine, all we have to do is repeat exactly the same steps we have taken so far (starting with pressing the Add Object button).If we hav
e done everything properly so far, our screen should look like this:

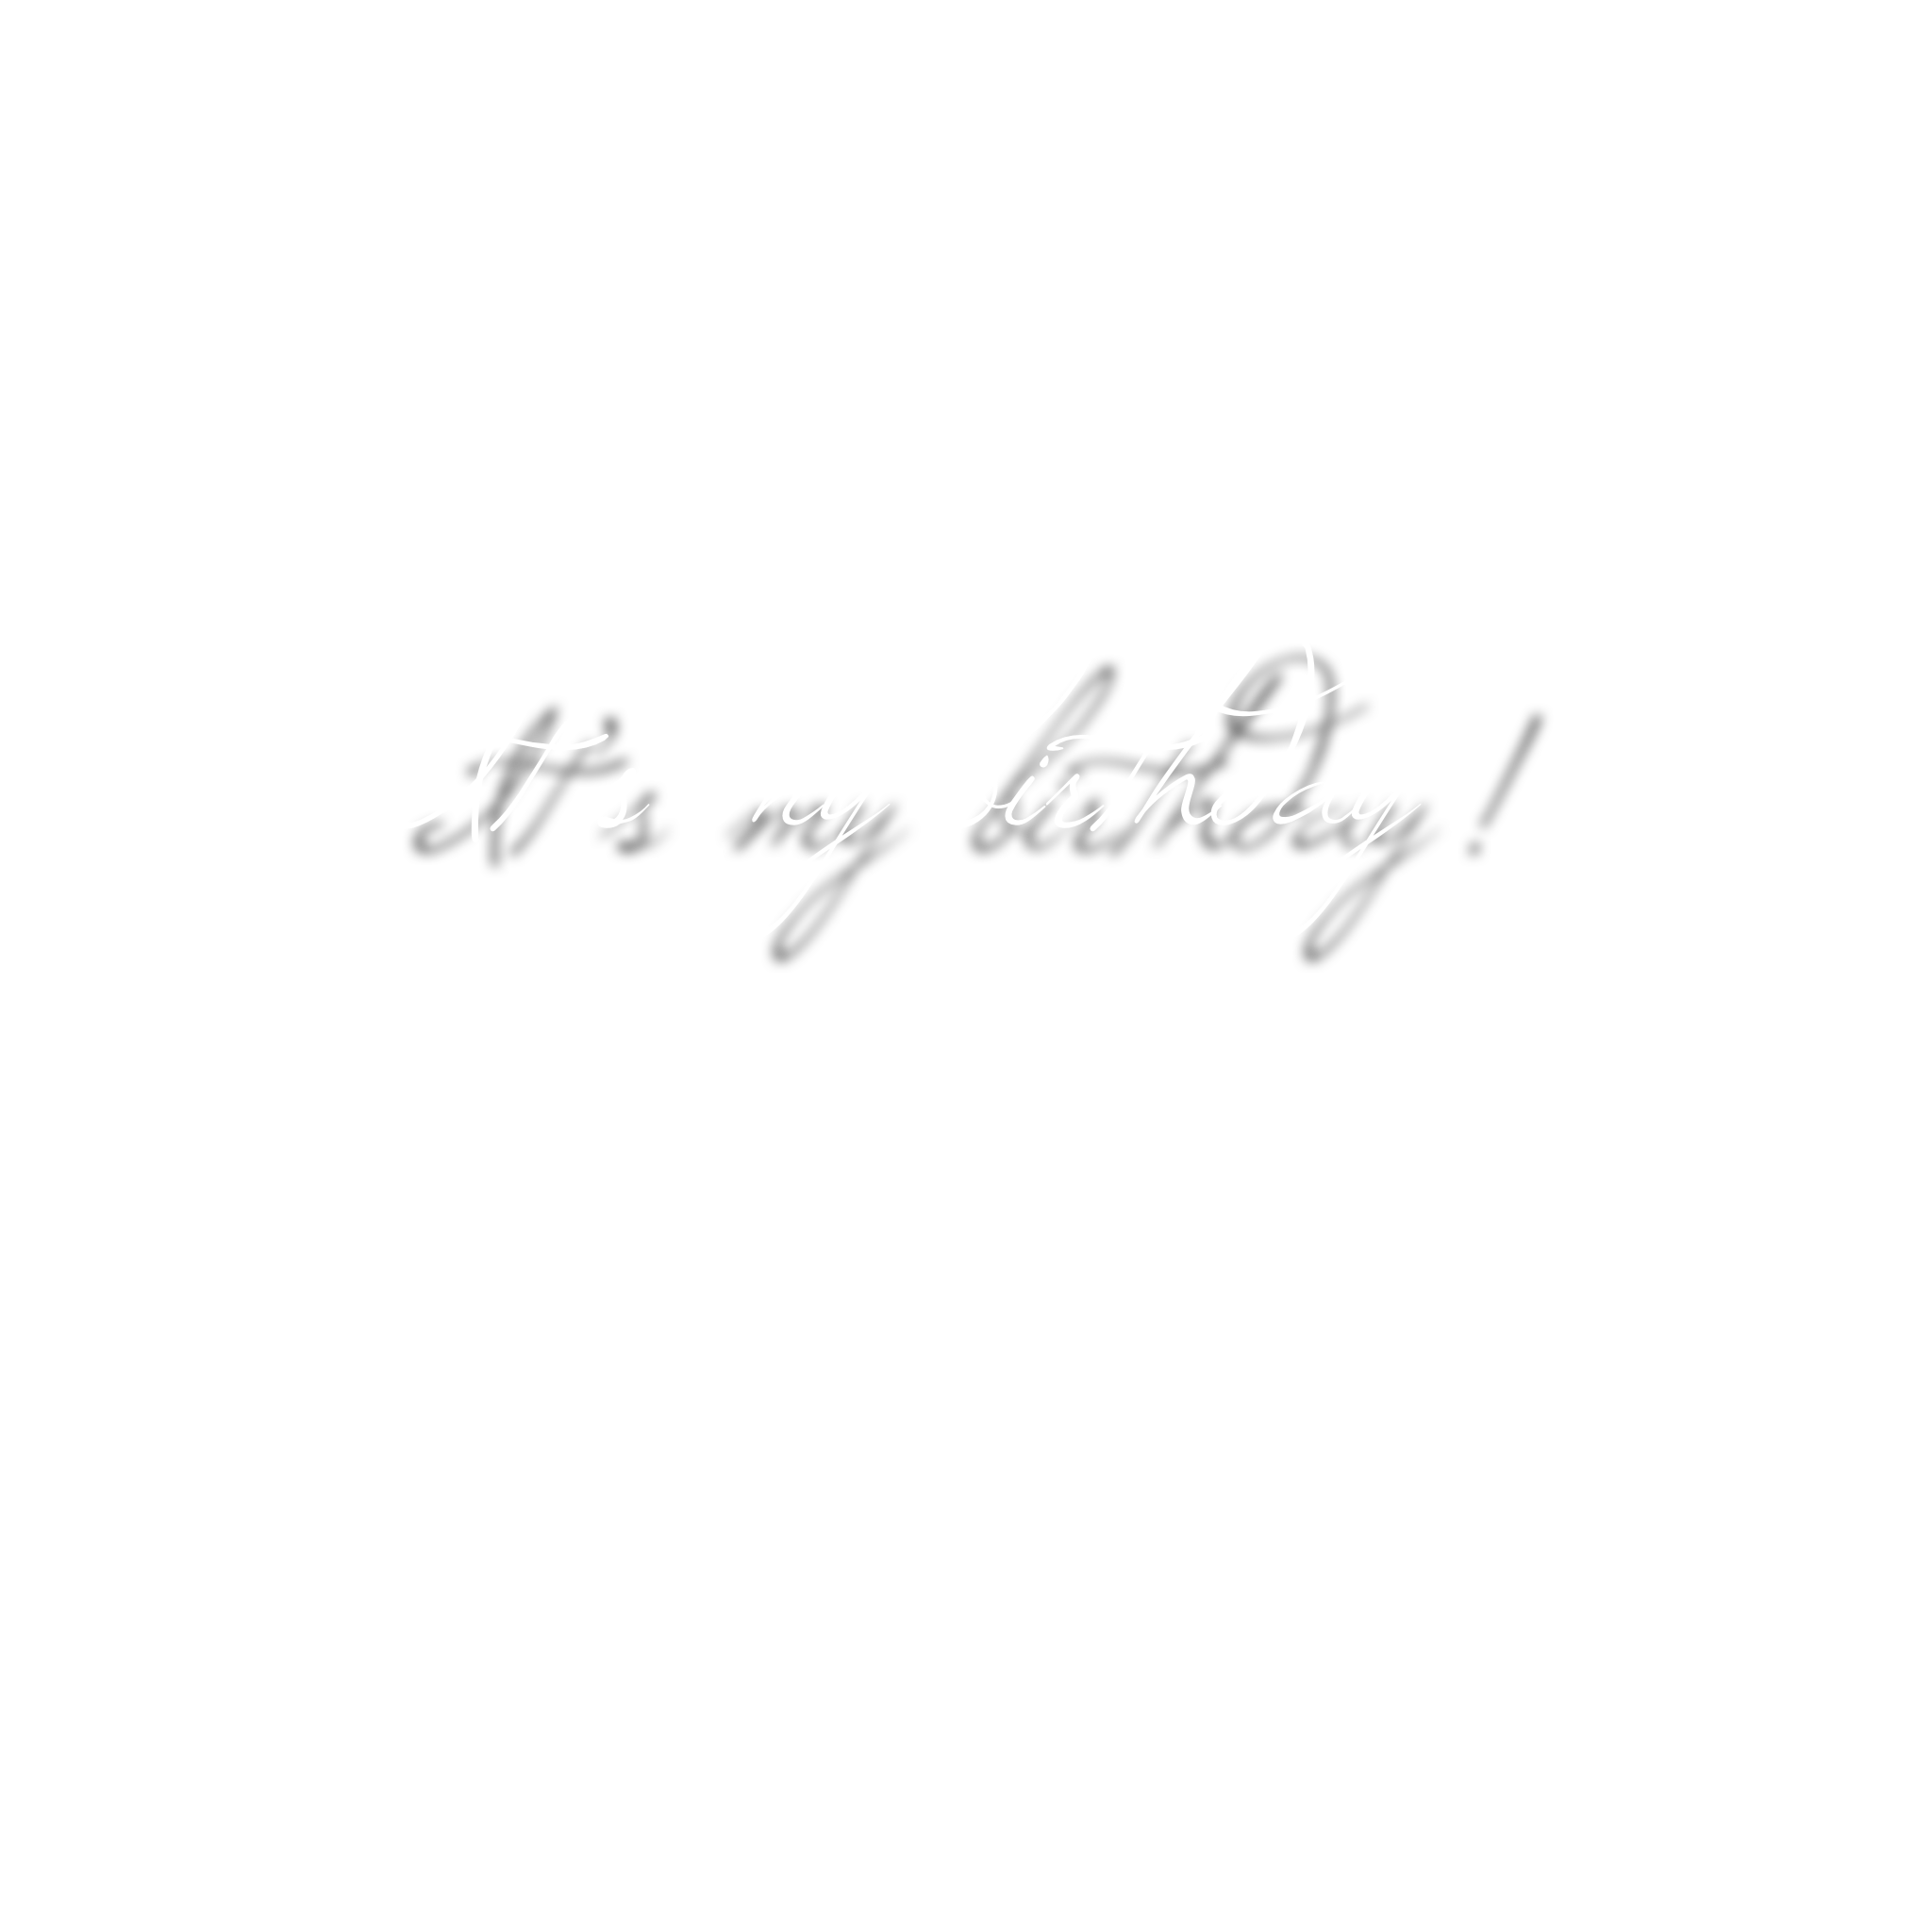
Now we wan
t to add a text, something like “It’s my birthday” sounds g
ood.
How do w
e do
it? Remember how to create? Click “Add Asset” and then “Material”. Now that we click on the new thing we created, we will be able to attach the image of the text to the menu on the
right.Until now we have not seen the text on the screen.. So what now?Now
we’ll go back to the top left menu, choose “Add Object” (just like we did at the beginning), only this time we’ll choose the option “Rectangle”. Now a small black and white square is visible in the center of the screen. We’ll increase the square to the size of the entire screen based on the following image:

No panic nothing happened, all we have to do now is choose “Material” on the menu and of course choose our text image that we added earlier to the software, in addition we will choose the desired text location.

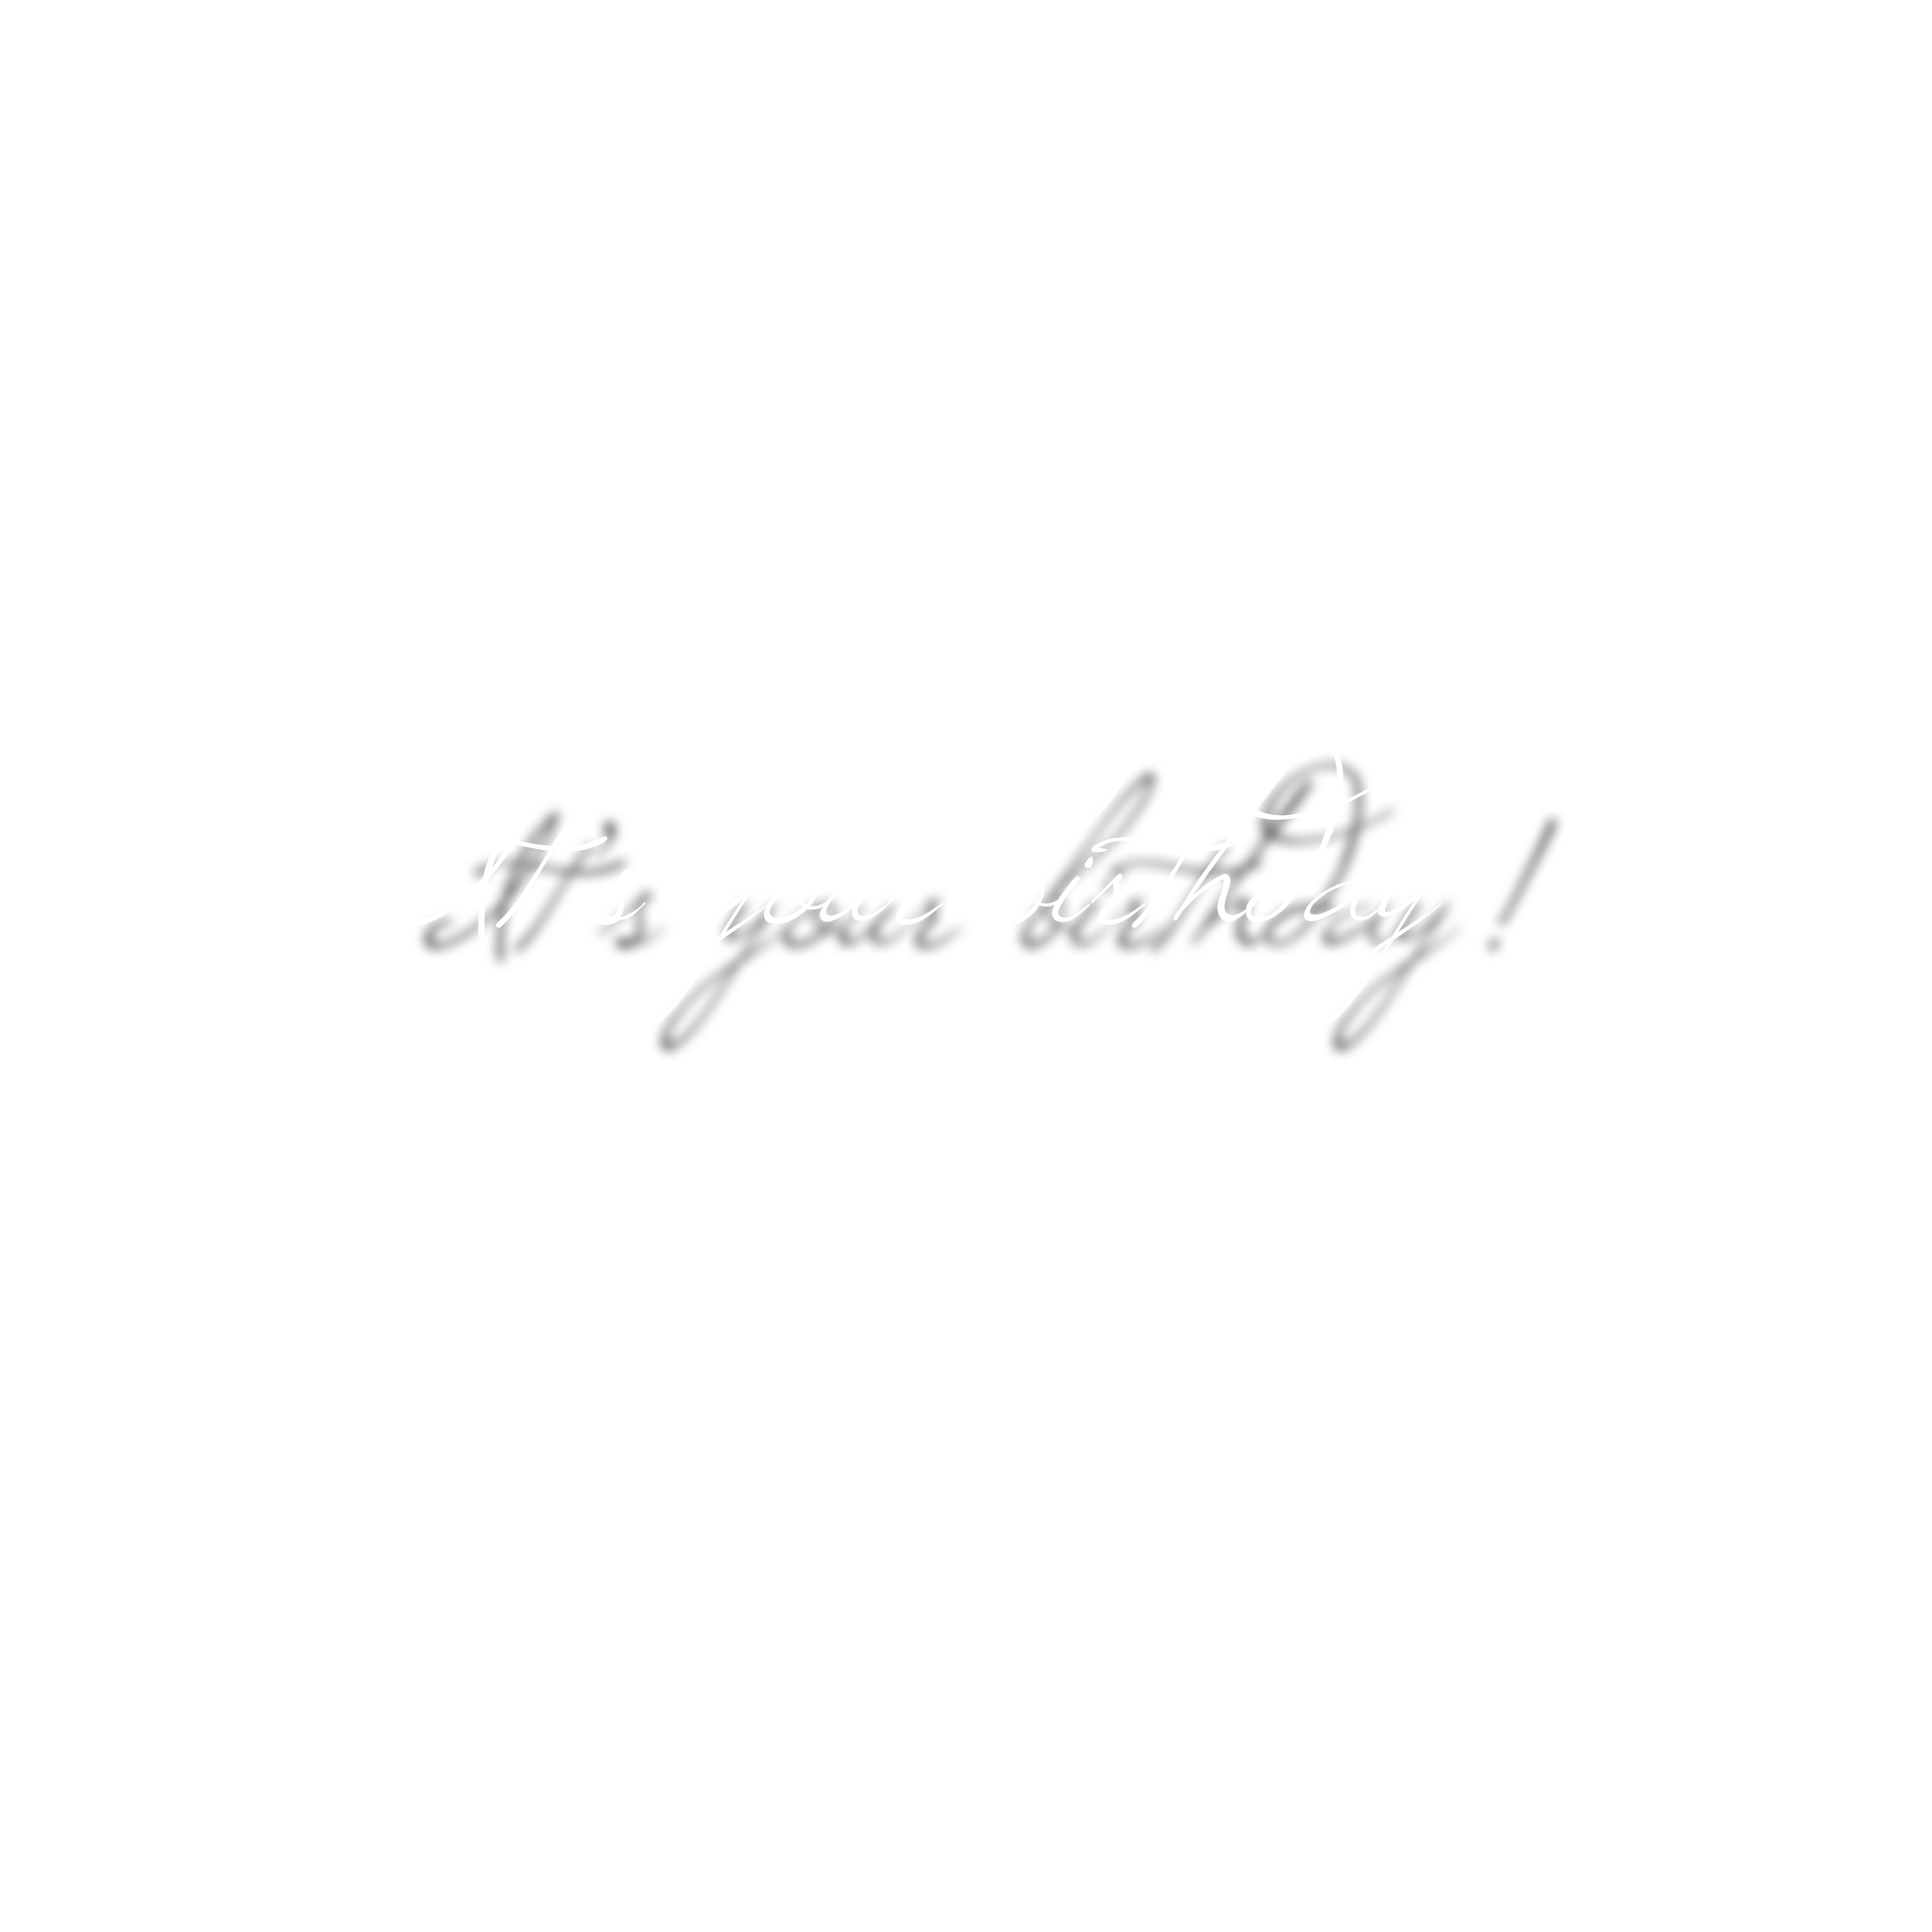
We’ve made real progress! You can see a built filter. But what if it’s not our birthday? What if we wanted to film a friend’s birthday? And write “It’s your birthday” and more than that – that when you click on the screen it will switch between the texts!so
the next step is really for the advanced and those of you who have come this far and have not yet despaired.

We will prepare a new picture, of course with the new text, and we will upload it in the same way that we uploaded the previous one, in addition, we will prepare a new “Material” just as we prepared for the previous one and the last step is to produce a new “Rectangle” really but just like the previous one. If you’ve done everything right, there should be two text images on the screen now:
Now what I want you to do is create a new “Rectangle”, and creat
e a new “Material”. This step is important so that we can switch between texts by clicking on the screen. Enter the new “Material” you created, and change the “Opacity” (transparency) to zero on the menu on the right.

Now the first time we touch what’s called Patch editor.H
e’s in charge of all the behind-the-scenes filters you see on Instagram. In this post we will learn a very small part of his abiliti
es.So how do we get to the same patch editor? We’ll click view in the menu above on
the left and choose to show it.

Remember the third
“Rectangle” I asked you to create. So now I want
you to drag it down to
patch editor.

Now we click “Add Patch” from the bottom right, and look for something called “Object tap”, we will add it. Then we’ll do the same thing and look for something called “Switch,” we’ll add it, too.


The almost final stage – we will return to the first “Rectangle” we created, the menu on the right will say “Visble” and next to a small arrow, we will press the small arrow.
You should now see the following on the Patch editor screen:

Last really thing – we will add the function “NOT”. We’ll click “Add Patch
” again and look for “NOT” and add.

We’re almost done! The filter is ready and left just to ap
prove it so we can use it on Instagram. As soon as we click, the following screen will open to us:

This screen tells us that our filter is suitable for Facebook and Instagram in terms of its size, we will click Export and open a screen for us in favor of saving the filter. Choose where you want to save it to your computer (of course remember where) and click Save. The following screen will now open:

The filter was saved successfully! Click Open Spark AR Hub. And the following screen will open for us:

We click Publish Effect and from here the following screen will open for us:

All you have to do is follow the instructions, and at the end click “Send”.I
nstagram requires checking every effect before uploading it to Instagram (make sure it is not branded, advertisement, etc.) The testing process according to their definition can take up to 5 business days but in my experience can tell you that it takes between one and two days and even a few hours! Part of the instructions Instagram asks is to upload a video of the filter and a subject image that will be displayed when it is posted, and that’s the cool part, already at this point, you will be able to see your filter on Instagram!
Is! If you’re in trouble, you know how to find me, if you liked, invite you to sign up for my blog and get more updates and posts that are just as fun.
Links to objects in the required format:


